




Description
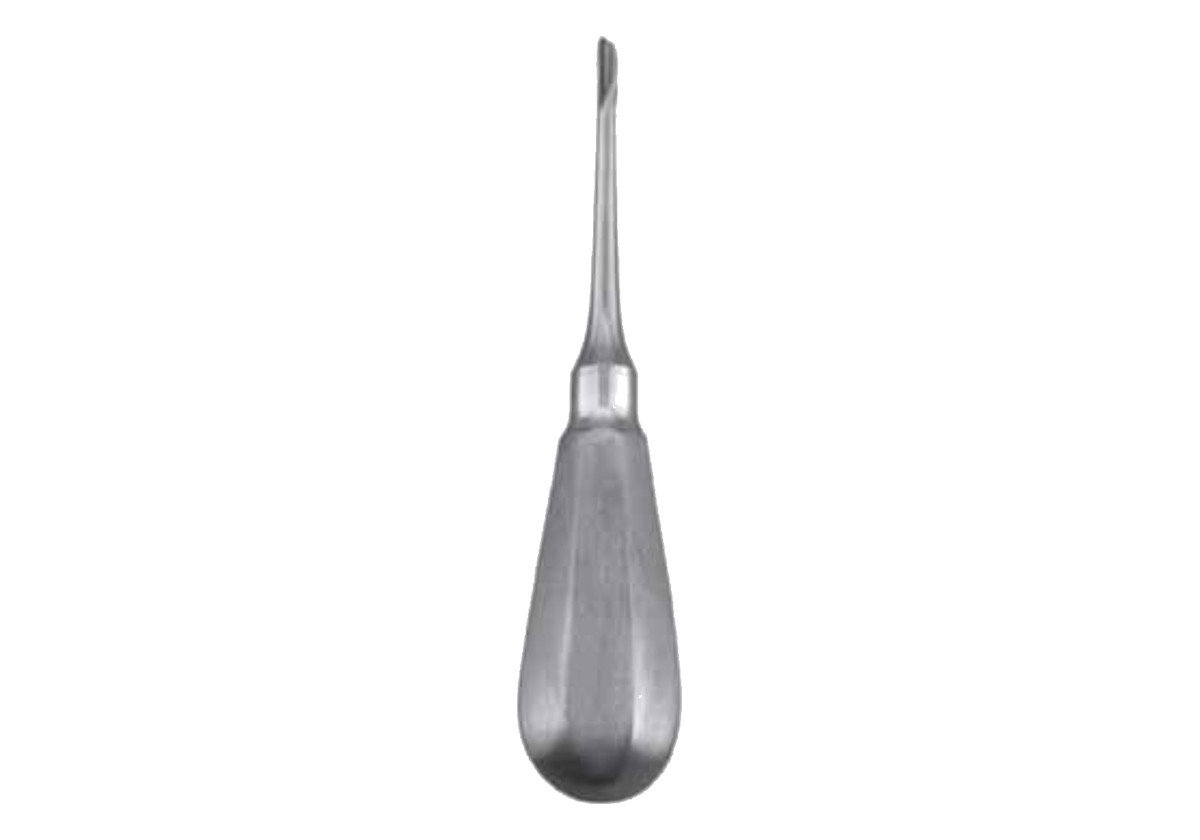
Kopp Root Elevators
Kopp root elevators come in six figures, numbered Fig. 1 through Fig. 6. Because there are so many choices, the group suits a planned tray. Each figure sells singly, so you can build up the set over time.
Planning a Kopp Tray
First, list the cases you see most. For example, a general practice may need fewer figures than an oral surgery room. Then pick two or three figures to cover those cases. Later, add the rest as your needs grow.
All Six Kopp Figures at a Glance
- Fig. 1 and Fig. 2: the opening numbers.
- Fig. 3 and Fig. 4: the next two.
- Fig. 5 and Fig. 6: the closing numbers.
- Any one figure: available on its own.
No chart here ties a number to a tooth. Instead, try them on a model, and fit the figure to the root and the access in front of you.
Why Six Figures Help
After all, roots vary in size, curve and position. Therefore, a wider choice lets you swap figures mid-case without forcing a poor fit. In addition, a spare keeps the tray working while another figure is in the sterilizer.
Controlled Elevation, Step by Step
Place the tip in the PDL space, wedge it in, and rotate a little. Also keep a finger rest on firm tissue. However, do not pivot on the adjacent tooth unless it is also due out. With an implant in view, keep the buccal plate whole.
Kopp Quality and Warranty
Kopp figures follow our specification, and each one clears inspection in the United States. They use stainless steel that follows ASTM F899. Each figure arrives non-sterile; a round of cleaning and sterilisation readies it for service. Our guarantee: three years against manufacturing defects on any figure in the range. View our root elevator list, compare the Curtis figures, or open the FAQ section.
For use by dental professionals. Visit our reprocessing advice and dispatch times for more.

Reviews
There are no reviews yet.