




Description
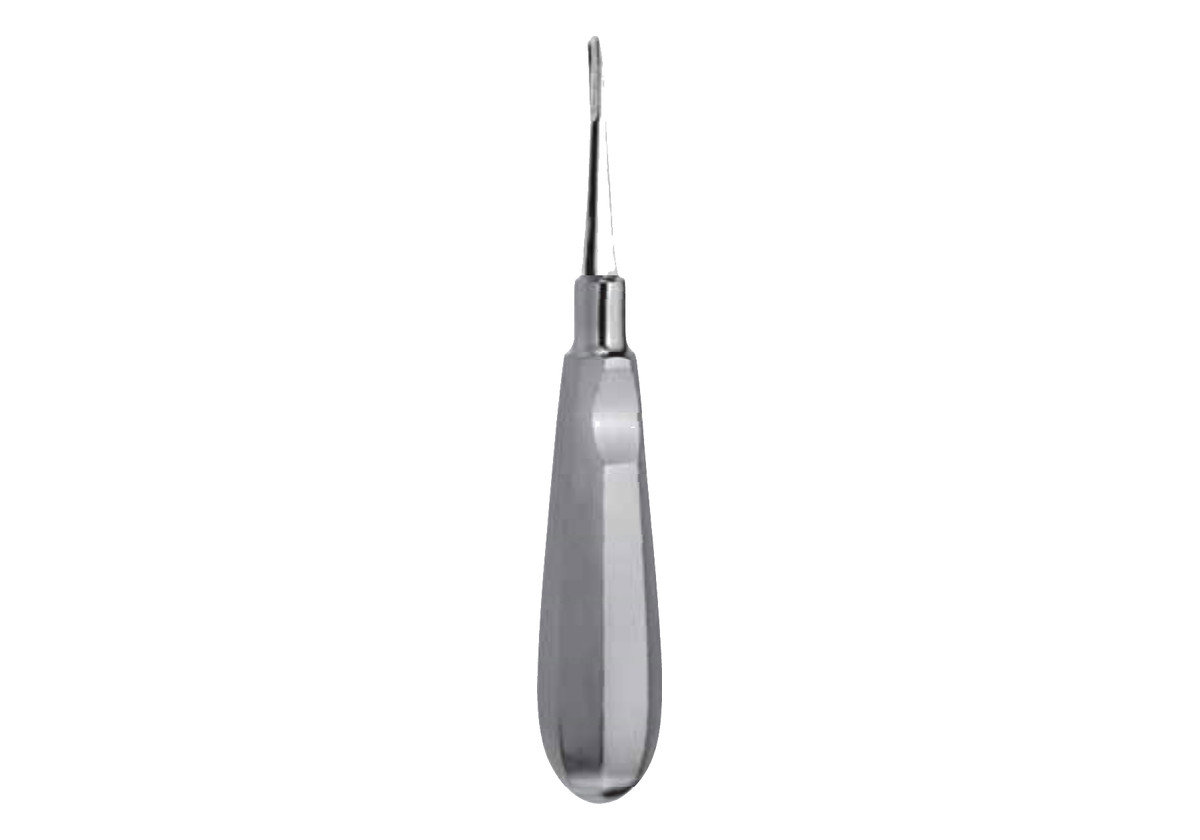
Curtis Root Elevators
Curtis root elevators come as Fig. 51 and Fig. 52. They form a two-figure family, and many clinicians like to have both. This page focuses on choosing between them and keeping the working end in good order.
The Case for Owning Both Curtis Figures
Two figures give you a second option when the first one does not seat well. For example, a root may sit at an awkward angle, or the access may be tight. Then you simply switch. Each figure sells singly, though, so buying one now and the second later is fine.
- Fig. 51: the first Curtis figure.
- Fig. 52: its partner figure.
- Tip: trial both on a model before a busy surgical day.
Edge Care Between Cases
A keen edge enters the PDL space with less pressure. As a result, you keep better control. After each cycle, look at the tip under a lamp. If it looks rounded or chipped, hone it lightly along the existing bevel. However, do not change its outline, and take off as little metal as you can.
Safe Technique in Brief
Seat the tip between root and bone, keep a finger rest, and use small turns. Never pivot on a neighbor unless you are removing it too. Also, when an implant is likely, preserve the buccal plate by wedging rather than prying.
Storage Between Sessions
Keep the tips apart in a tray or cassette so they do not knock together. Moreover, dry each tool fully after the cycle to avoid spots. A little care here keeps the edge sharp for longer.
Curtis Supply and Warranty
We write the specification for both Curtis figures and inspect each one in the United States. They use stainless steel per ASTM F899. Every figure leaves us non-sterile, and a full clean and sterilisation readies it for each new case. Our warranty stretches to three years against manufacturing defects and covers the making, not normal wear. Find more root elevators, view the Woodward pair, or open the FAQ page.
Clinic use by professionals only. Details sit in our reprocessing guide and on the delivery page.

Reviews
There are no reviews yet.