




Description
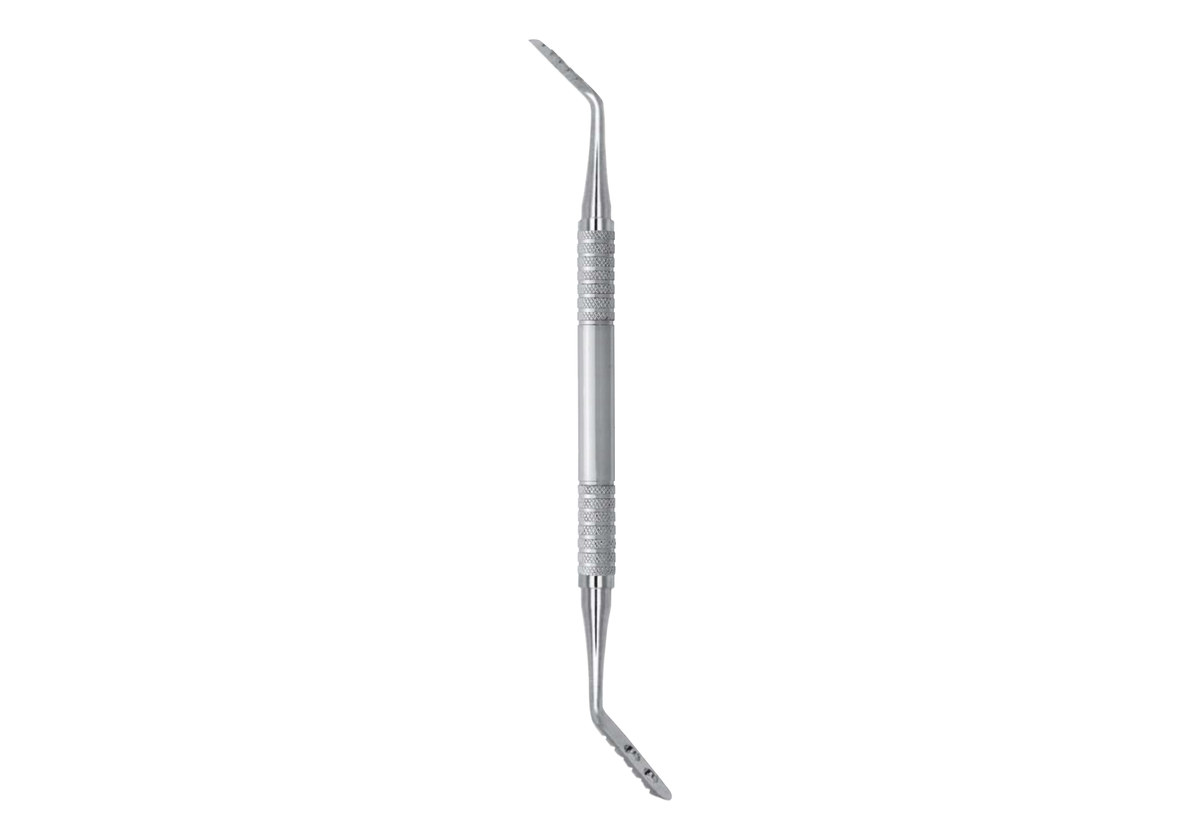
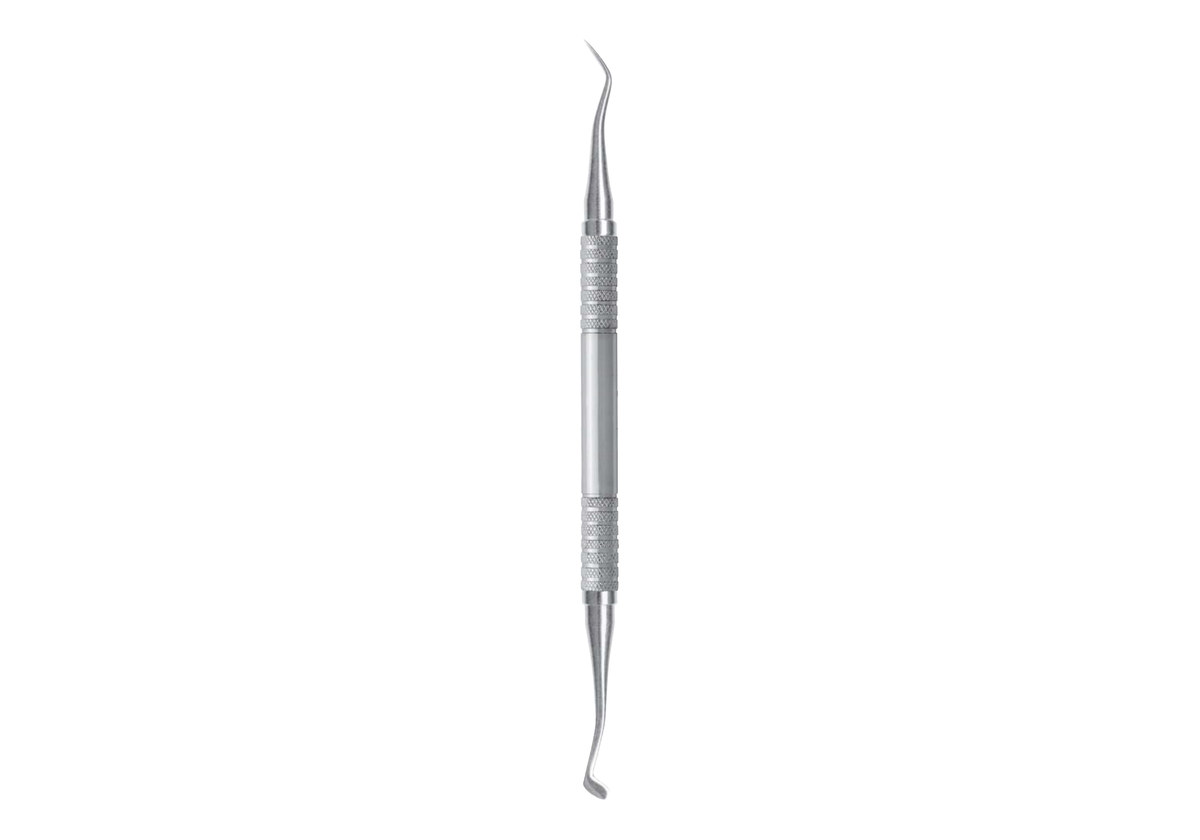
Zingheim Periosteal Elevators
Implant surgery begins with a clean flap, and the elevator sets the tone for everything after it. The zingheim periosteal elevator sits in the supplier’s implant periosteal group. It lifts the mucoperiosteum away from the ridge so the bone is exposed for drilling. This page offers two versions.
Style 1 and Style 2
The catalogue shows two Zingheim patterns, listed here as Style 1 and Style 2. However, it does not describe how their working ends differ in words. So the best guide is the product photos, which show each tip. Compare the blade outline and angle with the elevator you use today. If you are still unsure, send us a note and we will help.
Reflecting the Flap at an Implant Site
First, the surgeon makes a crestal incision with a scalpel. Next, the elevator enters at the incision and stays in firm contact with bone. Then it sweeps under the periosteum to lift the flap in one layer. Keeping the edge against bone helps avoid tearing the tissue.
Choosing Between the Two Patterns
Surgeons often pick one style for the crest and one for deeper buccal reflection. Others simply choose the shape that feels right in the hand. Because both share the same Zingheim lineage, either one fits an implant tray. Some practices buy both styles to cover different ridge forms.
Steel, Inspection and Warranty
Each elevator is stainless steel and gets a hands-on review from our US staff before it is packed. It ships unsterile, so clean the blade and run a sterilization cycle before the first flap. Style 1 and Style 2 both include protection of three years against manufacturing defects.
The elevators use steel aligned with ASTM F899. Explore the full Dental Implant Instruments range. The matching Zingheim Knife handles the incision before elevation. Our FAQs answer common questions.
For trained implant surgeons and their teams only. Visit our instrument care page and our delivery information before use.

Reviews
There are no reviews yet.